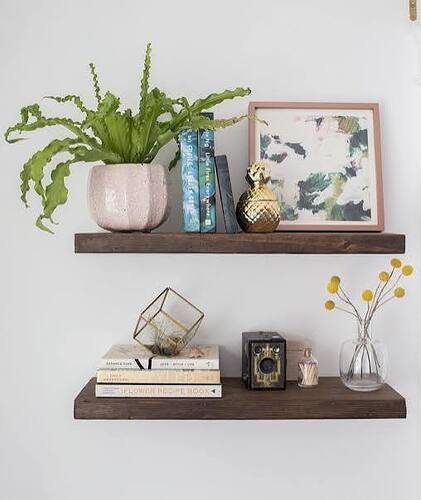
Floating shelves are a practical and stylish DIY renovation project that enhances both storage and décor. In 2025, homeowners are increasingly using these tutorials to personalize living spaces while saving money.
The first step in installing floating shelves is selecting the location and measuring carefully. Ensure the wall is suitable for support, ideally finding studs for secure anchoring. Choose materials that match your home’s style wood, MDF, or reclaimed timber are popular options.
Next, mark the positions for brackets or hidden supports using a level to maintain straight lines. Drilling pilot holes helps prevent wall damage and ensures the screws fit securely. Attach the brackets or supports firmly to the wall, ensuring they are aligned and stable.
Cut the shelf boards to the desired length and smooth edges using sandpaper for a professional finish. If painting or staining, complete this step before mounting to avoid mess. Slide the boards onto the brackets or supports, checking for stability and level placement. Small adjustments may be needed to ensure the shelves are perfectly aligned.
Decorating the shelves is the final step. Floating shelves are versatile—they can display books, plants, photos, or decorative objects, making them functional and visually appealing. Rotating items seasonally keeps the space fresh and personalized.
DIY floating shelves are not only cost-effective but also provide a sense of accomplishment. Homeowners gain confidence in handling basic tools, measuring accurately, and creating visually pleasing results.
Conclusion
DIY floating shelf tutorials empower homeowners to enhance their living spaces with practical and stylish additions. By following careful measurements, proper installation techniques, and creative styling, a simple project can have a significant impact. The process reinforces skills, encourages creativity, and delivers a personalized renovation upgrade that is both functional and aesthetically pleasing.

