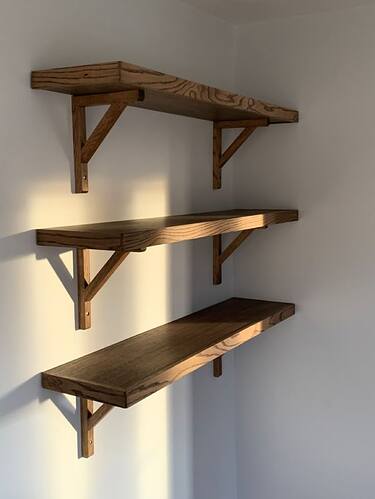
Floating shelves are one of the easiest ways to add style and function to your home. They not only provide extra storage but also create a clean and modern look in any room. The best part is you can install them yourself with just a few tools and a little patience.
Tools and Materials You Will Need
1. A measuring tape
2. A pencil
3. A spirit level
4. A drill
5. Wall anchors and screws
6. A screwdriver
7. Your chosen floating shelves
Step One: Plan Your Layout
Before drilling any holes, decide exactly where you want your shelves. Use a measuring tape and a pencil to mark the spots. Place the shelves against the wall to see how they look. This gives you an idea of spacing and balance before committing.
Step Two: Mark and Measure
Once you are happy with the layout, measure carefully and mark the exact points for the brackets or anchors. Use a spirit level to make sure your markings are straight. A crooked shelf can ruin the whole look.
Step Three: Drill and Insert Anchors
Drill holes into the wall where you made your marks. If you are fixing the shelves to drywall, insert wall anchors to provide extra support. This step ensures your shelves can hold weight without sagging or falling.
Step Four: Secure the Brackets
Use screws to secure the brackets or supports firmly into the anchors. Double check that they are level before tightening completely.
Step Five: Mount the Shelves
Slide your floating shelves onto the brackets or supports. Make sure they fit snugly and sit flush against the wall. Step back and admire your work.
Coclusion
Installing floating shelves by yourself may seem intimidating at first, but with the right tools and careful measurements, it is a straightforward project. The end result is both stylish and practical, giving you extra storage space while keeping your walls looking sleek and modern. Take your time, measure twice, and enjoy the satisfaction of transforming your space with your own hands.
