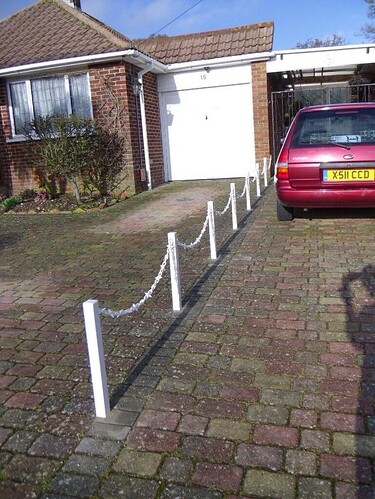
Metal fence posts are a popular choice for fencing due to their durability, low maintenance, and sleek appearance. Installing metal fence posts requires careful planning and execution to ensure a sturdy and long-lasting fence. In this article, we’ll walk you through the step-by-step process of installing metal fence posts.
Pre-Installation Preparation
Before starting the installation process, make sure to:
- Check local building codes and regulations: Verify that your fence design complies with local building codes, zoning laws, and homeowners’ association rules (if applicable).
- Mark utility lines: Identify and mark underground utility lines, such as electric, gas, and water lines, to avoid damaging them during installation.
- Clear the area: Remove any debris, vegetation, or obstructions from the fence line.
Step 1: Digging Post Holes
Dig post holes for the metal fence posts, following these guidelines:
- Dig holes 12 inches deep: For most metal fence posts, dig holes that are 12 inches deep to provide adequate stability.
- Use a post hole digger or auger: Rent or purchase a post hole digger or auger to make digging easier and more efficient.
- Space holes correctly: Dig holes at intervals specified by the fence manufacturer or a general rule of thumb is to space them 6-8 feet apart.
Step 2: Setting Post Anchors
Set post anchors in the holes to secure the metal fence posts:
- Use concrete or quick-set anchors: Fill the holes with concrete or use quick-set anchors to secure the posts.
- Follow manufacturer instructions: Adhere to the manufacturer’s instructions for setting post anchors.
Step 3: Installing Metal Fence Posts
Install the metal fence posts, following these steps:
- Place posts in anchors: Carefully position the metal fence posts in the post anchors.
- Secure posts with screws or bolts: Use screws or bolts to secure the posts to the anchors.
- Plumb and level posts: Ensure the posts are plumb and level to maintain the fence’s stability and appearance.
Step 4: Attaching Fence Panels
Attach fence panels to the metal fence posts:
- Use clips, brackets, or screws: Follow the manufacturer’s instructions for attaching fence panels to the metal posts.
- Ensure panels are secure and level: Verify that the fence panels are securely attached and level.
Final Inspection and Touch-ups
Conduct a final inspection to ensure the metal fence posts are:
- Securely anchored: Verify that the posts are firmly anchored in the ground.
- Plumb and level: Check that the posts are plumb and level.
- Fence panels securely attached: Ensure that the fence panels are securely attached to the metal posts.
By following these steps and taking necessary precautions, you can successfully install metal fence posts and enjoy a sturdy and attractive fence for years to come.
